FARO® CAM2® Software
Easy, intuitive management of QA and inspection tasks
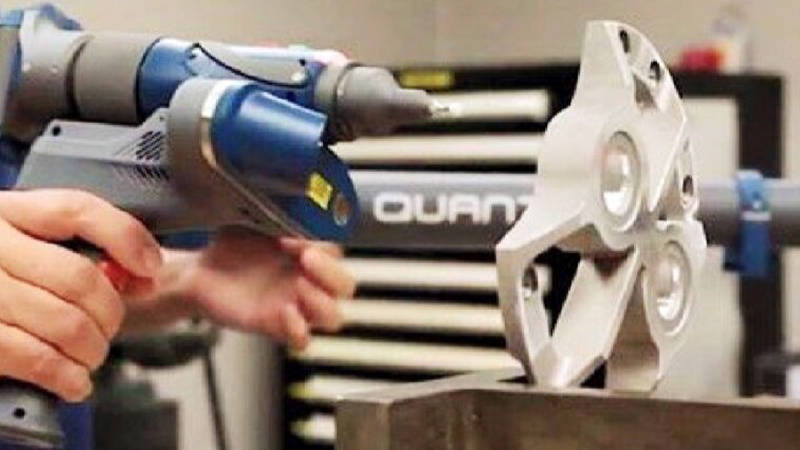
FARO CAM2® Software is a powerful, intuitive and application-focused 3D measurement platform designed to help you efficiently complete your quality assurance and inspection tasks. It’s perfectly suited to manage repeat inspection routines, with live trend and statistical process control (SPC) analysis. CAM2 Software is designed for use with any FARO coordinate measuring machine (CMM), enabling operators to capture accurate measurements. It’s the world’s smartest 3D measurement platform.
Try It For Free
-
Value
-
Performance
-
Features
-
Applications
Business Value of CAM2 Software
Improve Quality
Complex 3D inspections and automatic reports help users pinpoint defects.
Enhance Yield
Faster troubleshooting and root-cause analysis help increase overall yield.
Increase Throughput
Higher production rates and reduced downtime for verification mean greater throughput.
Accelerate Revenue Generation
You’ll bring products to market faster and reduce rework and downtime.
Keep Customers and End Users Happy
Delivering higher-quality products that can be used with confidence makes everyone happy and keeps customers loyal.
Make Informed Decisions
With the information at your team’s fingertips, they’ll be equipped to make smarter decisions faster and stay ahead of any problems.
Ensure Consistent Results
Pre-programmed inspection routines built through Repeat Part Management ensure consistent results from one operator to the next.
Easily See Trends
Inspection reports connect to your Statistical Process Control (SPC) software so you can start viewing trends.
CAM2 Software Versions By Performance Level
CAM2 - PREMIUM
For Non-contact Reverse Engineering Applications with Mesh Data
The premium version bundles CAM2 – Full and RevEng. It is a complete package for all your measurement applications, where both point cloud and mesh data analysis is required.
CAM2 – Full
For Non-contact Applications with Point Cloud Data
The comprehensive version of CAM2 provides full support to all FARO hardware devices, including the FARO ScanArm. It is particularly well-suited for non-contact measurement applications where point cloud data analysis is required. This version of the software also includes CAM2 – Probing.
CAM2 – Probing
For Contact Applications without Point Cloud Data
The probing version of CAM2 works with FARO hardware devices — including the FaroArm®, Gage FaroArm, Vantage Laser Trackers and Super 6DoF TrackArm — in contact measurement applications where point cloud data is not required.
CAM2 Software Features
Repeat Part Management (RPM)
Ensure consistency in inspections regardless of who conducts them, and to make inline inspections easier.
RPM Control Center
View actionable manufacturing insights based on real-time information for SPC, as well as trend analysis.
Simultaneous Measurement
Use multiple measurement devices together to measure large components fast.
Metrology-grade Meshing
Generate visually appealing, metrology-grade STL files that can be trusted when measuring a golden part.
Scanning Profiles
Select the right settings with one click, streamlining the measurement process.
Geometric Dimensioning and Tolerancing (GD&T)
Display the results of a part inspection just like a print for easy interpretation.
Built-in Universal CAD Import
Ensure the fidelity of CAD data.
Align-My-Part Wizard
Simplify CAD-to-part alignment.
Line Deviation Color Scan
Check part quality during scanning, with deviations highlighted in color.
Remote Measurement
Measure remotely with Apple devices.
3D Metrology Applications
Improved Quality Control and Inspection
Verify dimensional accuracy and identify deviations from nominal CAD data during first-article and in-process inspection, as well as inspection of incoming parts. See quality control and inspection applications >
Alignment Curing Production, Fabrication and Assembly
Keep machines aligned, and verify dimensional accuracy of tooling and parts. See production, fabrication and assembly applications >
Machine Calibration
Keep equipment calibrated with CAM2.
Faster, More Accurate Product Design and Engineering
Expedite reverse engineering and rapid prototyping for shorter time to market. See product design and engineering applications >
CAM2 Insights
When you work with FARO, you benefit from our years of experience providing our customers with solutions that optimize their work. We’ve collected all our Quality Control and Inspection insights in a library of resources for you.
Related Products
ScanArms
The global standard in non-contact, portable measurement arm technology; an all-in-one solution.
FaroArms
The most trusted contact, portable measurement arm technology; ideal for precision assembly in tough industrial environments.
Vantage Laser Trackers
Proving the way forward for fast and accurate measurements for assembly, alignment and reverse engineering needs.
Super 6DoF TrackArm
Combines the measurement accuracy of laser tracking with the flexibility of a FaroArm or ScanArm; ideal for hard-to-reach places.
FARO® RevEngTM Software
Streamline your scan-to-design workflow by downloading FARO RevEng reverse-engineering software
I’ve been using FARO products for more than 20 years and have been very successful. I’ve used them in many industrial settings, all over the world.
Peter Tavis
Thermal Structures Inc.
FARO CAM2 Software is very intuitive and user-friendly for new users.
Tony Bellitto
Plasan North America
The FaroArm is the ‘only game in town,’ as they say, when it comes to the type of reverse engineering we do.
James Tedder
DienamicTooling Systems Inc.
